It’s about that time of year to present my non-cross stitched craft of 2016. This year I decided to go with something I’ve wanted to try for some time – book coasters!
I’ve seen tutorials for this craft all over the internet, but I played around with a few different instructions until I figured out what worked for me.
What you’ll need:
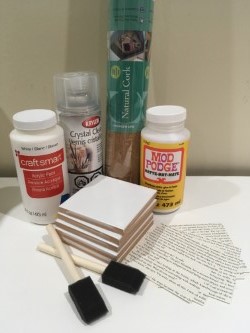 4 x 4 inch tiles
The passages you’d like to use, cut to 3.75 x 3.75 inch squares
Acrylic paint
Mod podge
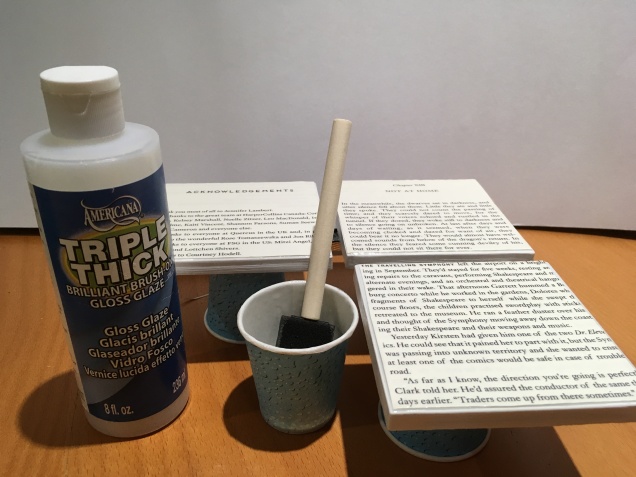
Clear Acrylic Sealer (I used Krylon Crystal Clear and Americana Triple Thick Gloss Glaze)
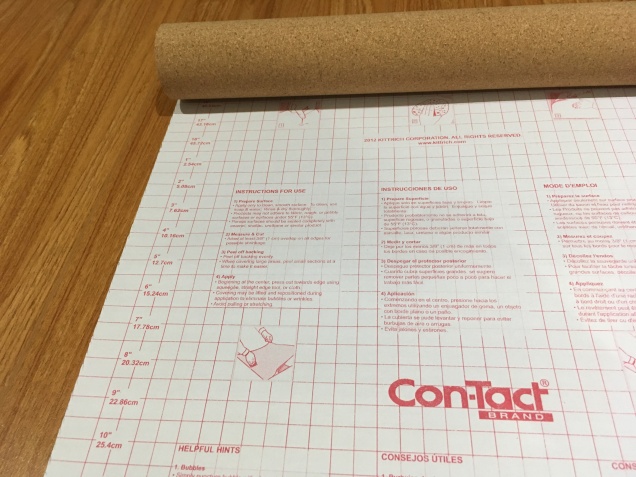
Cork Shelf Liner
Foam Brushes
I found white tiles on sale for 10 cents each from my local tile store, and bought a few boxes worth. The top of the tile was white, but the sides were brown, with some white markings. If they were all one colour, I would have left it, but because of the white markings I decided to paint the sides.
Two layers of acrylic paint worked for me. It dries very quickly, so you don’t have to wait long in between coats.
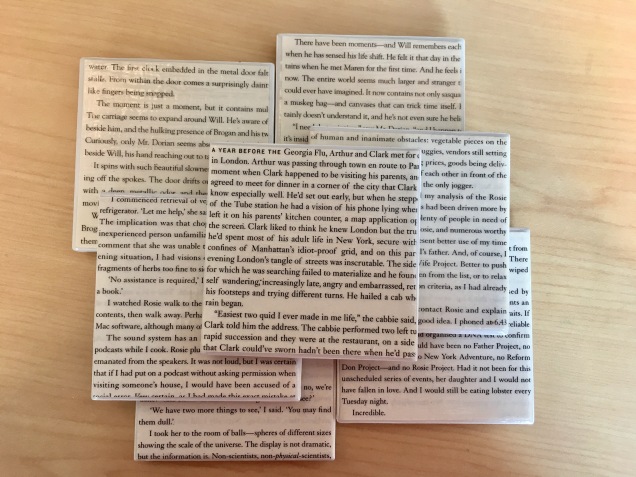
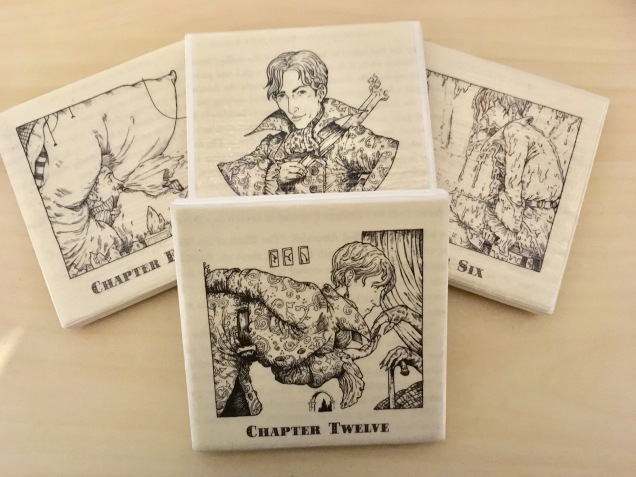
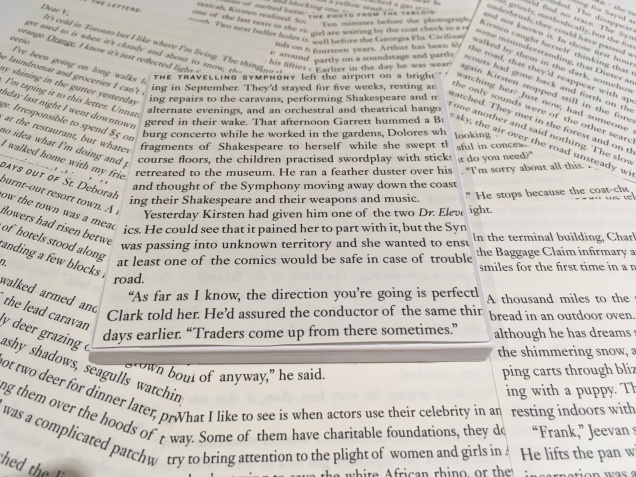
I bought a few extra couples of books I love and thought would look good as a coaster, and cut them out to be just slightly smaller than the tile itself. I’ve seen people use paper napkins if they found a design they liked, or even photos. However, I’ve been warned that if you print anything from an inkjet printer it will run when you mod podge it. Have extra tiles if you’re going to try it, just in case it doesn’t work.
Now we get to the mod podge. It seems everyone who makes these have different instructions, but I found three thin layers of mod podge worked best for me. The first layer is applied directly to the tile, and the second and third layer go on top of the paper. You’ll need to wait about 15-20 minutes between coats.
Don’t worry if bubbles appear. Once it’s dry you can push them out; if you try to fix it while it’s wet the paper will get wrinkled and not turn out as well.
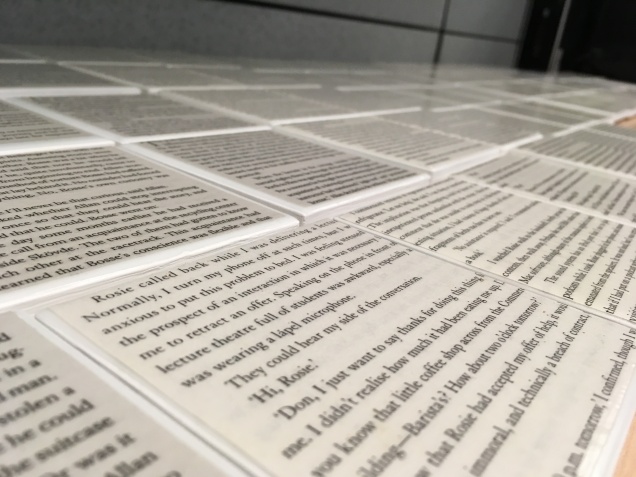
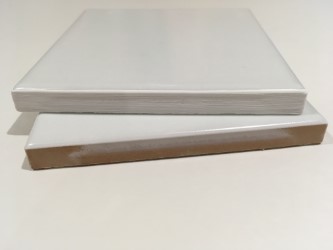
Here you can see the mod podge drying on the tiles:


In between mod podge layers you can start cutting out your cork for the bottom. On my first few tiles, I used cork that was meant for as layer for flooring, but then I discovered cork shelf liner! It has an adhesive on one side and cork on the other, and works perfectly with this craft. I found it at Canadian Tire, but I’m sure it’s available at most hardware stores.
Another helpful factor about the adhesive cork, is that it has lines on the back to help with cutting. I’ve found for my tiles 7.5 squares by 7.5 squares was the perfect size.
Once you’re done with all 3 layers of mod podge, I like to let them sit for a day to ensure they are completely dry before sealing them with the acrylic sealer. The sealer will make them waterproof which is useful feature for coasters. I found a couple of mine were a little sticky, so I give everything a little extra drying time.
Use the sealer on a day with nice weather, as you must do this outside (the smell is terrible). Make sure you have a mask you can wear, so you don’t breathe any of it in. I did a couple on a windy day, and I wouldn’t recommend that, as you have to be careful that nothing blows on top of the tiles while they are drying.
I use two layers of the sealer, allowing 20 minutes of drying time in between. Once 20 minutes have passed after the second layer, I brought them in from my garage, set them down in a seldom used room, and allowed them to sit there until they were completely dried and the smell from the sealer had gone away.
If you are doing this in winter, and it’s below 0 degrees, you can’t use the spray. I found myself in this position this weekend, so after some research, I picked up some Americana Tripe Thick Gloss Glaze and brushed that on top of my tiles in a well-ventilated room. Because it’s extra thick, you only need one layer.
Make sure you also brush the side, as you want that waterproof as well, in case of future coffee/tea drips. If you are using the spray, leave some space between the tiles so the sides also get coated.
Your last step is to add the cork, which you’ve already cut out. I like to have the cork reach the flat edges around the tile, but you can make it as large or as small as you’d like.

And that’s it! When giving them out, I wrapped them in wax paper to prevent any sticking. If you aren’t sure if they will stick, try stacking them and seeing if they are easy to pull apart.